SoftChalk Summit
Part III: It's All About Style
Text Formatting
The SoftChalk toolbar contains several tools which can be used to enhance the text in your presentation.
This presentation will explain the formatting tools available in the SoftChalk toolbar.
Font Face and Size, Saving and Previewing your Work
|

|
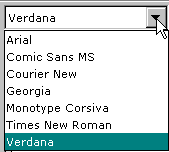
The Font Face drop-down allows you to select from one of several fonts available. Because we will be publishing to the Web, only a limited number of fonts can be used.
|
|

|
The Font Size drop-down allows you to adjust the size of the font of the selected text.
|
|

|
The SAVE button is your friend! Click on it frequently to avoid frustration!
|
|

|
Clicking on the Preview in Browser button will allow you to see what your work looks like in a web browser.
|
Text Formatting (continued)
|

|
The Bold button makes the text appear bolder.
|
|

|
The Italics button gives a new slant to your text
|
|

|
Underline your text for added impact.
|
|

|
The Text Color button allows you to change the color of the selected text.
|
|

|
The Highlight Text button lets you select the color of and add highlights to the background of selected text.
|
|

|
The Decrease Indent button will move the selected text 10 pixels closer to the left margin of the page.
|
|

|
Increase Indent moves the selected text 10 pixels closer to the right margin of the page.
|
|

|
Using Left Justified margins will cause each line to begin at the same point on the left-hand side of the screen.
|
|

|
Center Justified margins will align each line of text to the center of the display area. (Use this sparingly for best effect)
|
|

|
Setting Right Justified margins causes the text of each line to align to the same point on the right-hand side of the screen.
|
|

|
Use Bulleted Lists to highlight individual "bullet points" within a SoftChalk presentation.
|
|

|
Use Number Lists to point out events that occur in a specific sequents.
|
|

|
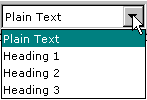
Each lesson style comes with 4 pre-defined text formats. If you use any fo the 3 heading styles, the selected text will appear in the Table of Contents for the presentation.
|
Adding Images
To add an image to a SoftChalk presentation, click on the Add Image button. 
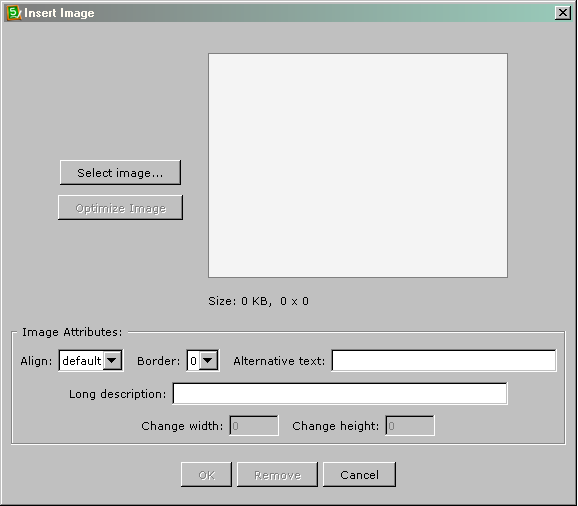
This will load the "Insert Image" dialog Window.

Then, click on the  button to browse your computer for the image you'd like to use.
Adding Images (continued)
- If the image is too large to be used, you'll see a notice that the image is
 . To correct this, click on the
  button. This will resize the image to proportions more appropriate for web delivery.
- To align the image to the left or right margin, just drop down the "Align" drop-down menu and adjust the alignment by selecting "Left" or "Right".
- If you want to add a border to the image, click on the "Border" drop-down and select the thickness of the border (in pixels)
- Adding "Alternative Text" or "Long Descriptions" to an image will provide a descriptions of the image to those individuals who are unable to see the image, due to a disability or computer issue.
Adding Hyperlinks
To include a link to an external web resource, highlight the text that will be the link and click on the Inset/Edit Hyperlink  button.
When the window loads, type or paste the URL into the "URL or Selected File:" box. It is recommended that you have the link open in a new window. To do this, click in the "Open the link in a new window" checkbox. Then click "Ok" to add the link to your presentation.


![]()
![]()


