Installing OpenOffice
The following installation instructions were originally created by Prof. Holly Mathews
We are grateful to her for allowing us to use her materials in our ANGEL gateway.
Part Three: Installing OpenOffice
|
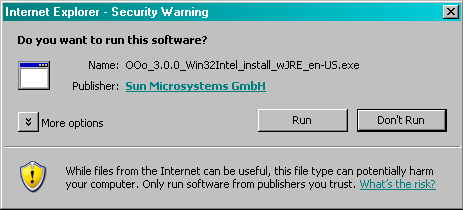
STEP 1:
Once the download has been completed, you'll see a dialog box similar to the one to the right.
Click the  button to run the installation program. button to run the installation program.
|
|
|
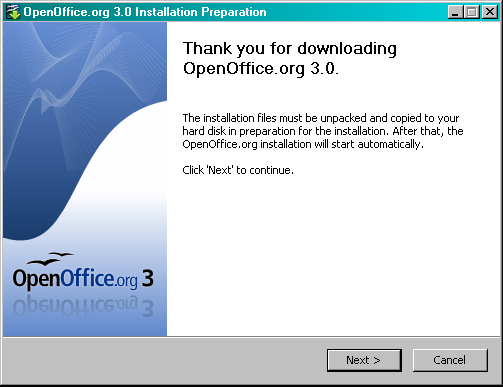
STEP 2:
This will begin the installation process. You'll see a screen that looks like the one to the right.
Click on the  button to begin the installation. button to begin the installation.
|
|
|
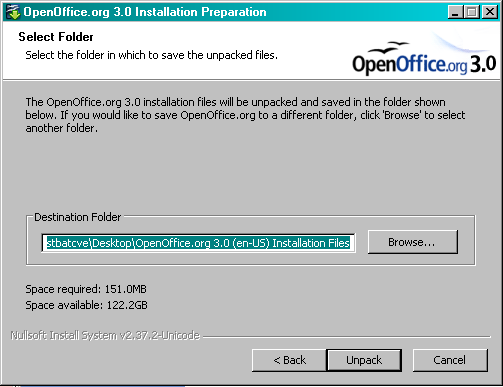
STEP 3:
Unless you find it necessary to change the location to which the files are unpacked,
(which you probably won't), you can simply click the  button. button.
|
|
|
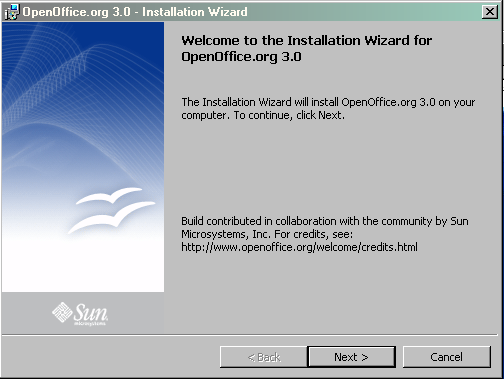
STEP 4:
The next screen starts the Installation Wizard which will guide you through the
rest of the setup process.
Click on the button to continue.
|
|
|
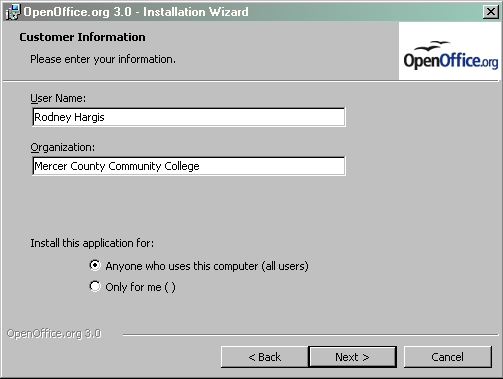
STEP 5:
Follow the prompt and enter your name under the User Name heading. If you're
downloading for personal use, leave the organization field blank.
Next choose if you want the application only to be usable by you or by all
users.
Then click on the button.
|
|
|
STEP 6:
Next, you will be asked to determine whether you want a "Complete" or "Custom"
installation. For the time being, select "Complete" setup (this will already be
highlighted) and then click on the button.
|

|
|
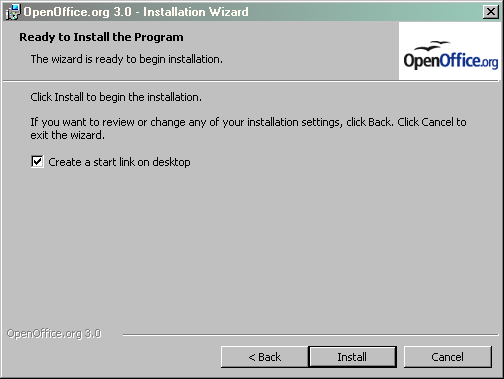
STEP 7:
Now you need to select whether or not you want a start link on the desktop.
We recommend that you do have the start link. (The box is checked by default,
so you can simply click on the  button. button.
This will begin the actual installation process which could take several minutes
depending on the speed of your computer.
|
|
|
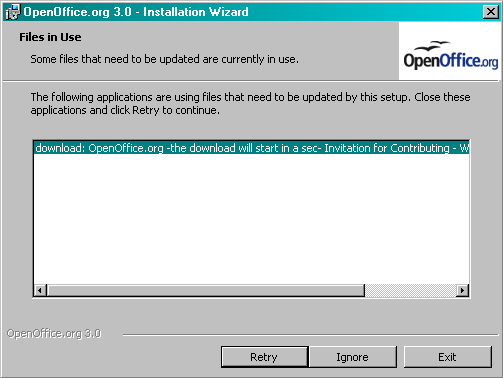
STEP 8:
During the installation, you may see a screen similar to the one to the right, requesting that you close your Internet Explorer browser. If you do, close Internet Explorer, and click the
 button. button.
|
|
|
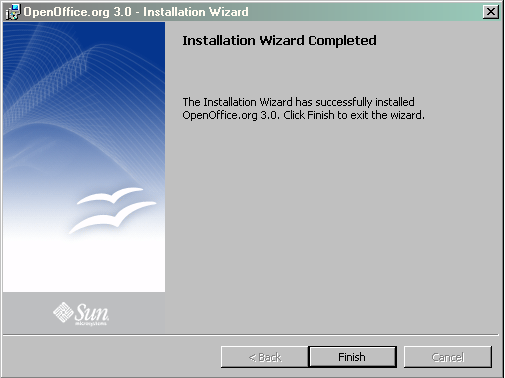
STEP 9:
When all is done, click on the 
|
|