Installing OpenOffice
The following installation instructions were originally created by Prof. Holly Mathews
We are grateful to her for allowing us to use her materials in our ANGEL gateway.
Part Four: Running OpenOffice Programs
|
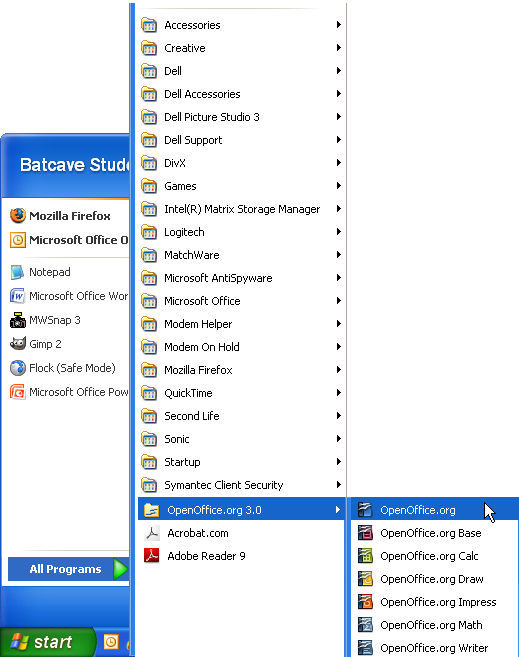
STEP 1:
Go down to "Start" and click on it, the go up to "All
Programs" and right to "OpenOffice." A menu of all the
OpenOffice programs will appear. At this point, click on OpenOffice.org just to get
started and make sure everything is up and running properly.
|
|
|
STEP 2:
You'll only see this welcome screen the first time you open the software.
Click the  button to continue. button to continue.
|

|
|
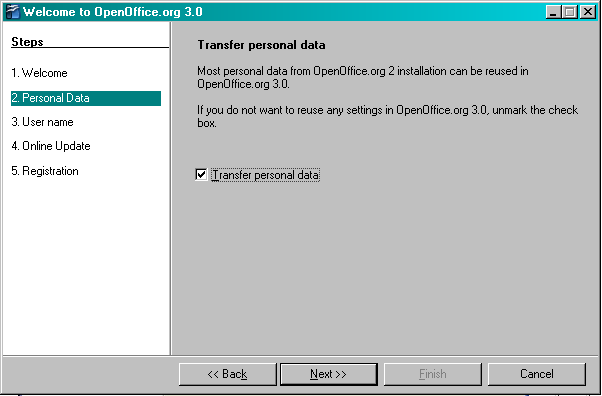
STEP 3:
If you've installed OpenOffice before, you are given the option to transfer personal
data from the previous installation. First time users will not see this screen.
|
|
|
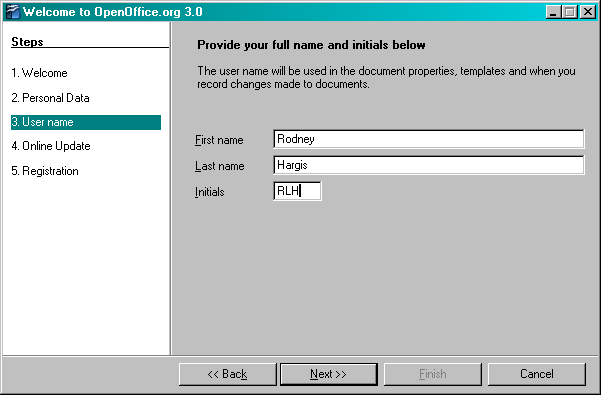
STEP 4:
Next, you will be prompted to enter your name and initials. Type your name and initials
in the boxes provided and click
|
|
|
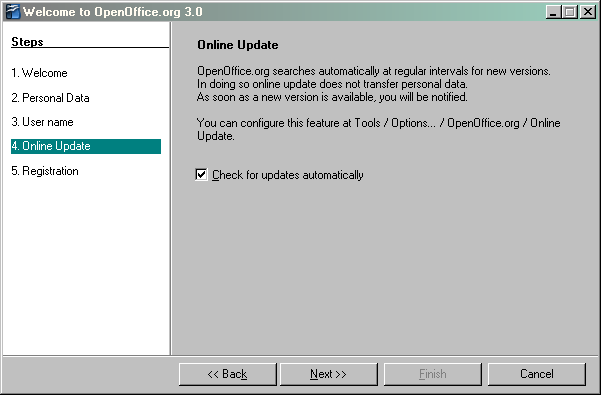
STEP 5:
You will now be prompted to select whether or not
you want OpenOffice to automatically check for updates. You should leave this box
checked so that you will be made aware of any new updates to the software.
Click the to continue.
|
|
|
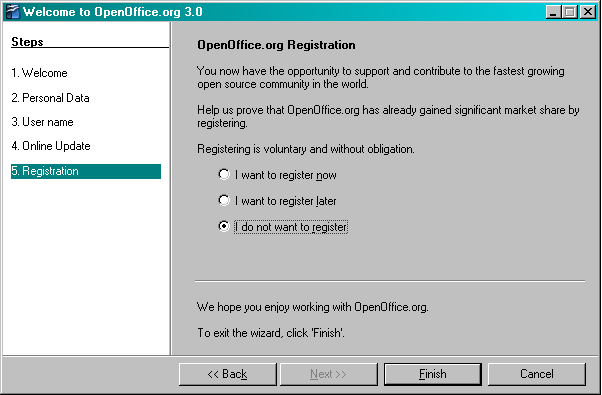
STEP 6:
You will now be prompted to select whether or not
you wish to register the software. If you choose to register, you will be taken to the
OpenOffice website to register your copy of the product.
Click the  to complete the setup process. to complete the setup process.
|
|
|
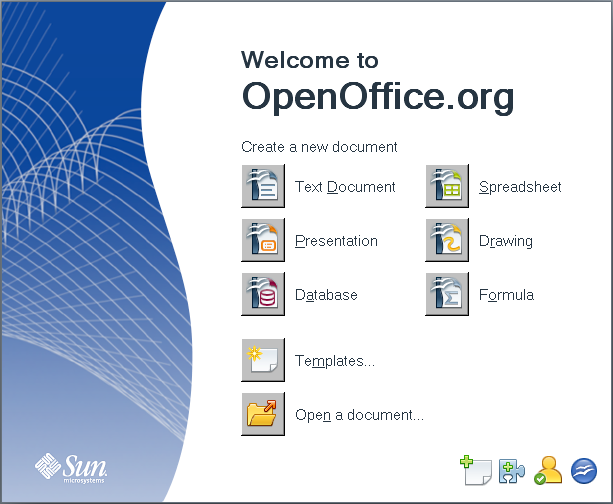
CONGRATULATIONS!!
You are now ready to use OpenOffice!!
The OpenOffice screen that loads will prompt you to select what type of document you want to create
(Text Document, Presentation, Database, Spreadsheet, Drawing, or Formula). So select any type of document and try out the software!!
|
|